If you’re in software development or DevOps, you’re probably thinking about the most efficient ways to deploy (because, let’s face it. Nothing is easy). Throughout your journey, you’ve seen multiple environments to deploy to; bare metal, virtual machines, and infrastructure as a service come to mind.
At some point, you’ve come across serverless.
Serverless still requires configuration data (parameters, secrets, variables, etc.), and you still need a place to store them and update them in an acceptable fashion.
That’s where CloudTruth comes into play.
In this blog post, you’ll learn how CloudTruth and Cloudflare Workers work together to create the best deployment experience.
Prerequisites
To follow along with this blog post, you will need:
- A CloudTruth account, which you can use for free here.
- The CloudTruth CLI. If you don’t have it installed and configured, follow the directions here.
- A Cloudflare Workers account, which you can use for free here.
What Are Cloudflare Workers?
If you haven’t worked with Cloudflare Workers yet, it’s a Serverless service, much like AWS Lambda or Azure Functions. It allows you to run code in a service instead of setting up any underlying infrastructure.
Out of the box, Cloudflare Workers support JavaScript and TypeScript. However, any language that can be compiled into JavaScript will work just fine. The following list showcases language support that can be compiled into JavaScript.
- Kotlin
- Dart
- Python
- Scala
- Perl
- PHP
- FSharp
Because of the list above, you can imagine that many developers using Cloudflare Workers primarily work with front-end apps.
Cloudflare Workers differentiates from other Serverless services with 0 uptime cold start. Usually, when you run a Serverless function for the first time, there’s a bit of lag, otherwise known as a “cold start.” With Cloudflare Workers, Cloudflare promises 0 uptime cold start, which means it’s much faster than other services right off the bat.
Now that you know the theory behind Cloudflare Workers let’s jump into the hands-on portion of this post to configure CloudTruth and Cloudflare workers to deploy an app.
Setting Up CloudTruth
For the purposes of this test, you’re going to use a very basic JavaScript app. The primary reasons are:
- You’ll still understand the example if you’re not efficient in JavaScript.
- You can take this knowledge and use the idea of it across any app, regardless of whether the app is complex or not.
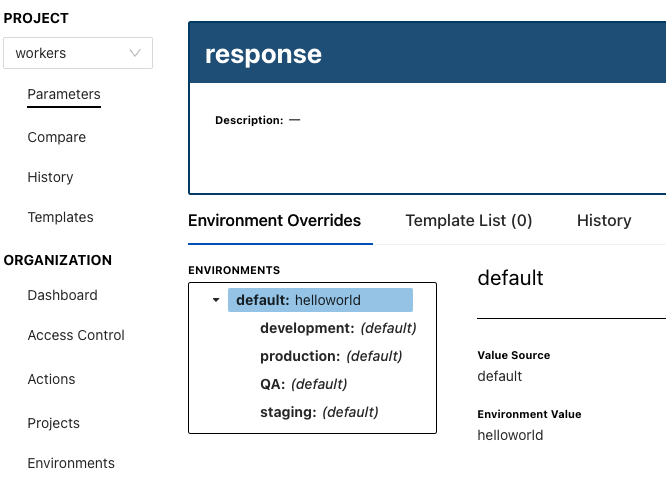
First, create a new project called workers.

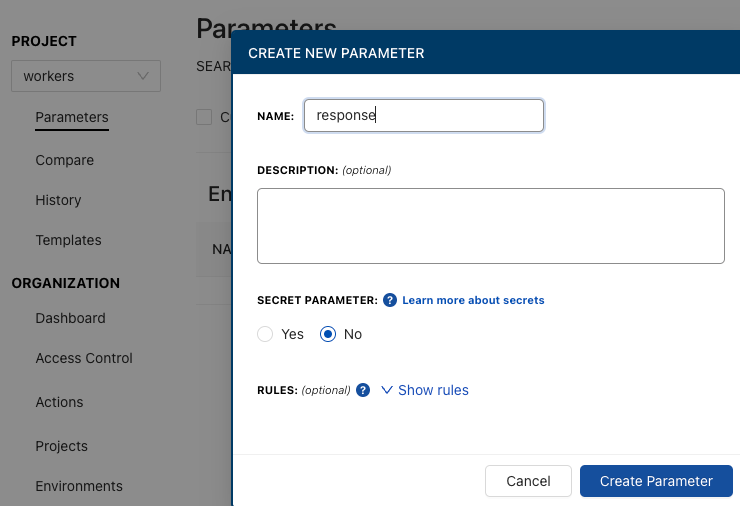
Next, underneath the workers project, create a new parameter called response.
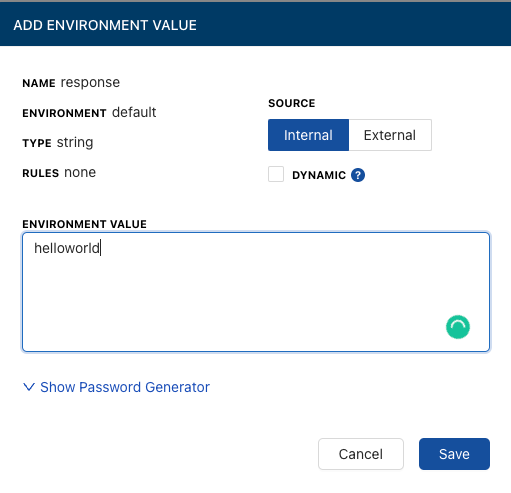
Add a new value string called helloworld. This is for the JavaScript app you will set up in the next section.
After the project, parameter, and value are added, the end result should look similar to the screenshot below.
In the next section, you’ll learn how to configure Cloudflare Workers and Wrangler.
Configuring Cloudflare Workers and Wrangler
First and foremost, you want to ensure that the Wrangler CLI is installed. You can install it with the NPM package manager.
npm install -g wrangler
Next, log into Cloudflare with the Wrangler CLI.
wrangler login
You’ll see an output similar to the screenshot below.

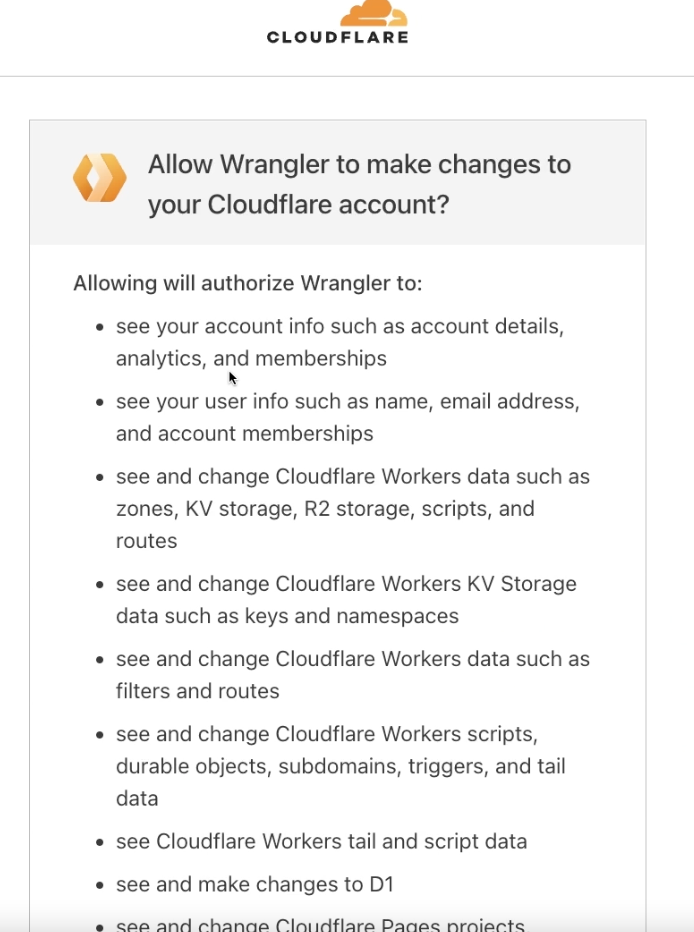
Right after the output in the screenshot above, a web browser tab will automatically pop up asking to allow Wrangler to authenticate to Cloudflare via the CLI.
Click the blue Allow button, and you’ll be returned back to your code editor with a successful login.
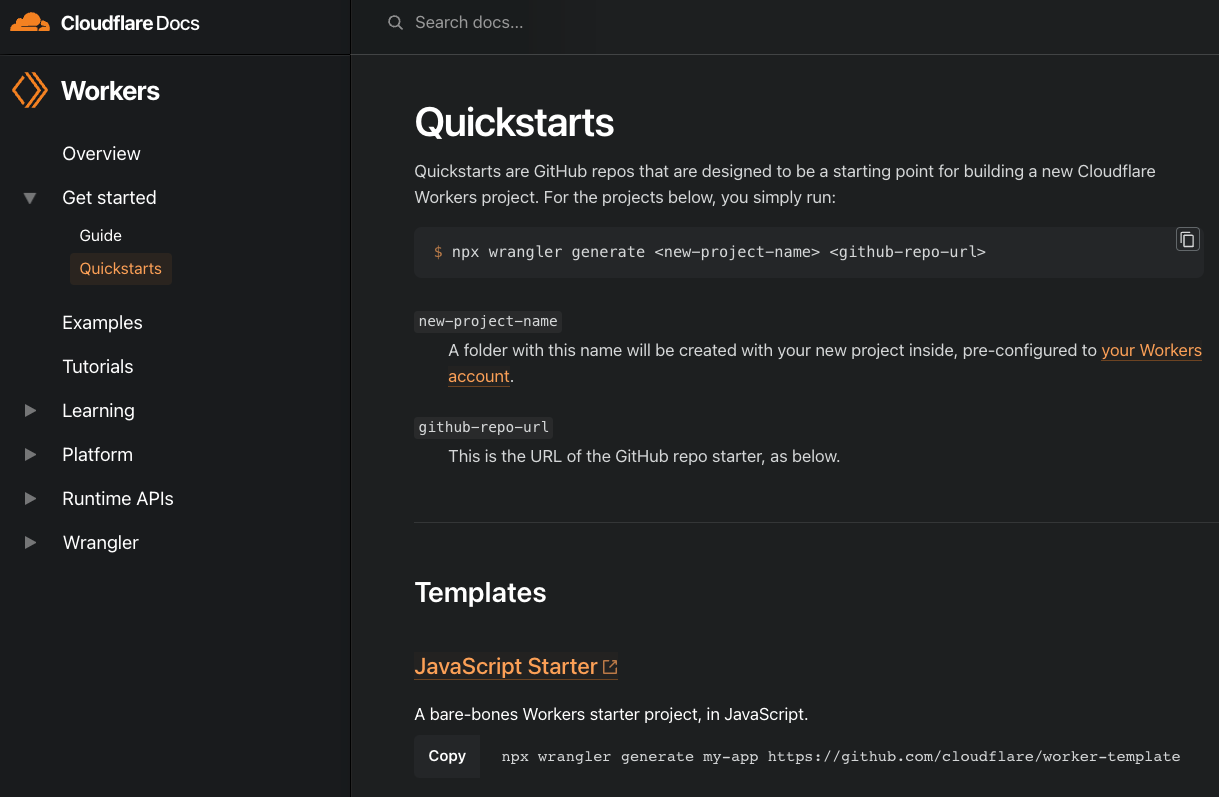
Once authenticated, you can specify a JavaScript app/code to use with Wrangler. To keep things simple, you can use one of the many templates available from Cloudflare to generate an app.
For example, the line below will create a simple Hello World app, which you’ll use for the rest of this blog post.
npx wrangler generate testapp https://github.com/cloudflare/worker-template
If you want to see the other templates available, here’s a link.
Next, open up the index.js that was created from the npx wrangler generate command above.
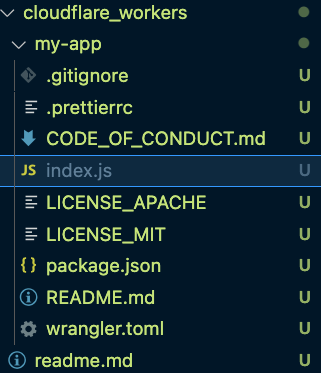
When you open it, you should see code similar to the code below.
addEventListener('fetch', event => {
  event.respondWith(handleRequest(event.request))
})
/**
 * Respond with hello worker text
 * @param {Request} request
 */
async function handleRequest(request) {
  return new Response('hello wrangler', {
    headers: { 'content-type': 'text/plain' },
  })
}
On line 9, you’ll see a string that says hello wrangler. You’ll want to change that string to an environment variable with the key, which is the name of the parameter you created in the section before this one when setting up CloudTruth.
The new index.js should look like the code below. Notice on line 9 the environment variable is now being called.
addEventListener('fetch', event => {
  event.respondWith(handleRequest(event.request))
})
/**
 * Respond with hello worker text
 * @param {Request} request
 */
async function handleRequest(request) {
  return new Response(process.env.response, {
    headers: { 'content-type': 'text/plain' },
  })
}
Next, open up the wrangler.tomlconfig.
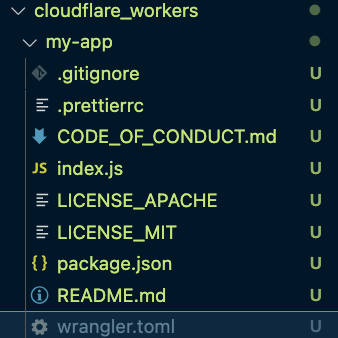
You’ll need to add in the compatibility_date for the configuration file as it’s not there by default. Below is an example of a wrangler.toml that contains the compatibility_date key/value pair.
name = "helloworld"
type = "javascript"
compatibility_date = "2022-10-24"
account_id = ""
workers_dev = true
route = ""
zone_id = ""
Once the wrangler.toml and index.js files are updated, open up your terminal and cd into the my-app folder.
cd my-app
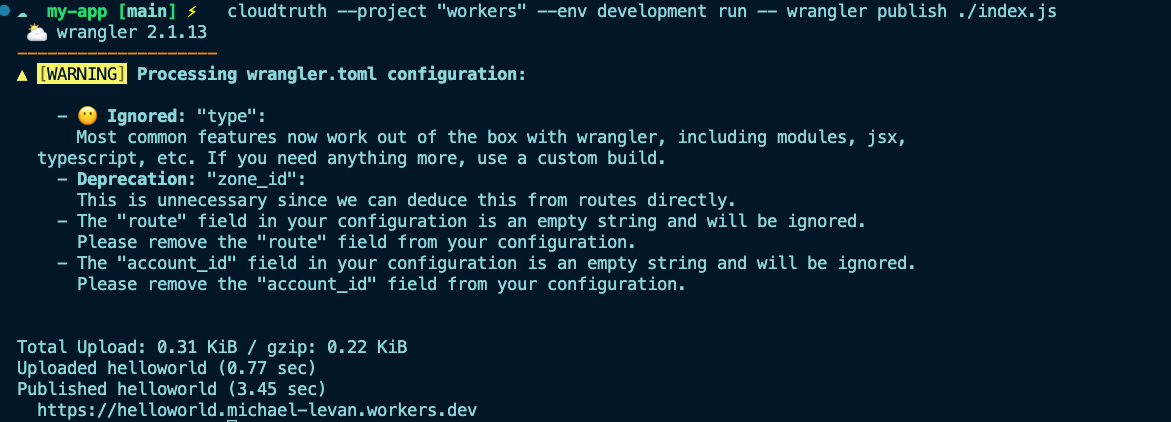
The last step is to utilize the CloudTruth CLI to call upon the workers project, specify an environment, and use the wrangler publish command.
cloudtruth –project “workers” –env development run –command “wrangler publish ./index.js”
You should see an output similar to the screenshot below.
Congrats! You have officially configured CloudTruth and Cloudflare Workers for easier configuration data and secrets management.
Here’s a screencast of this project:
Join ‘The Pipeline’
Our bite-sized newsletter with DevSecOps industry tips and security alerts to increase pipeline velocity and system security.

